 CloudConverter
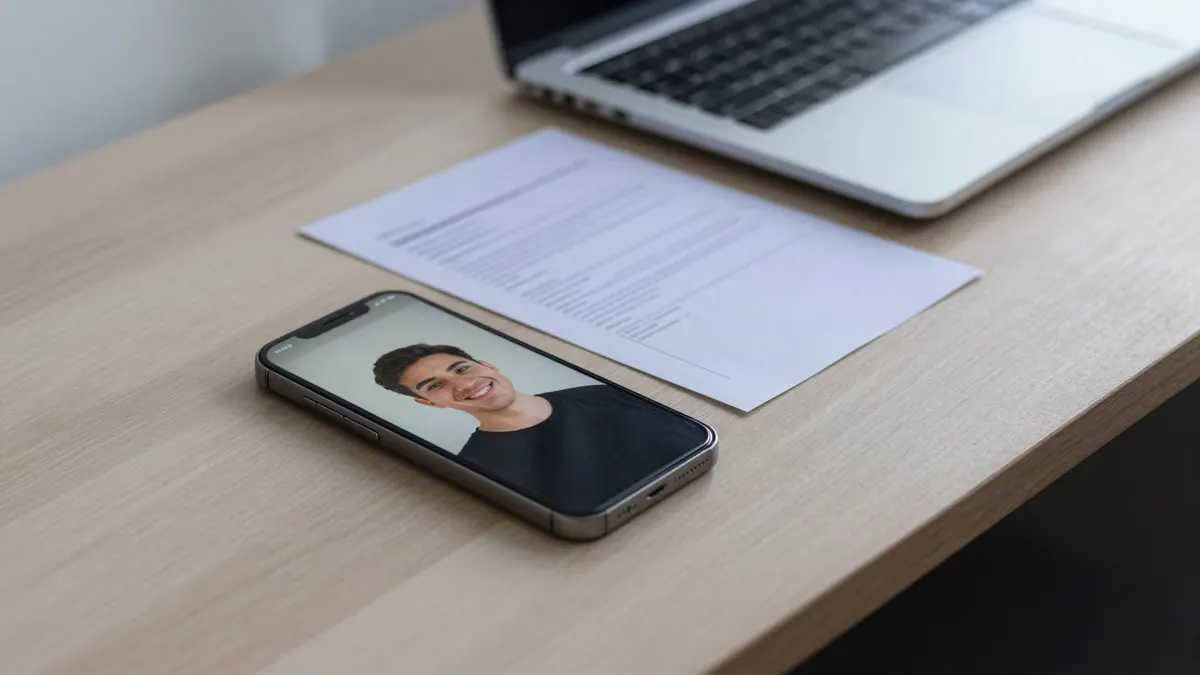
You've filled in half the form. Name, date of birth, address. Then you hit the photo field, pick a perfectly normal picture from your phone, and get slapped with: "File must be smaller than 100 KB."
I've seen that message on job portals, exam registration pages, visa forms and more than one bank. And it's annoying for a simple reason: your phone saved that picture at 2, 3, maybe 5 MB. The form wants something twenty or thirty times smaller, and it won't tell you how to get there.
So here's how. Below you'll find the fastest fix, the built-in options on iPhone, Android, Windows and Mac, and what actually happened when I pushed a handful of real photos down to 100 KB.
The fast way: one page, no app
If you just want the file and don't care about the theory, do this:
- Open Compress Image to 100 KB in whatever browser you're using, phone or computer.
- Tap the box and pick your photo. HEIC pictures from an iPhone work too; you'll get a JPG back.
- Hit Compress. It drops the JPG quality first and only shrinks the image if that isn't enough.
- Look at the size and the pixel dimensions next to the file. Happy? Download.
Got a front and back of an ID card? Throw in both. It takes up to 20 at a time, squeezes each one separately and lets you grab them all as a ZIP.
Why is a phone photo so big anyway?
Two reasons, really: pixels and detail.
Most phones shoot 12 megapixels. That's 4032 × 3024 pixels, enough for a decent poster. Now think about where your photo ends up: a little box on a form, maybe 200 pixels wide. Whoever checks your application never sees 95% of those pixels. You're uploading a poster to fill a postage stamp.
Detail is the other half. A face against a plain wall is cheap to store. Grass, gravel, a crowd, a patterned shirt? Expensive. I've had two photos with the exact same dimensions come out at very different sizes just because of what was in the frame. Which is also why "use quality 60" advice doesn't work for every picture.
I tested it. Here's what came out
Four 12-megapixel photos (a fjord from a cliff, two dogs, a lioness), each between 1 and 2 MB. Plus one A4 page of text, the kind of thing you'd scan for a certificate. Each one went through the compressor twice, once aiming for 100 KB and once for 50 KB.
| Test image | Original | Under 100 KB | Under 50 KB |
|---|---|---|---|
| Fjord landscape, lots of detail | 1.6 MB, 4032 × 3024 | 97.5 KB, 826 × 620 | 48.5 KB, 584 × 438 |
| Dog in a blanket, outdoors | 1.9 MB, 4032 × 3024 | 96.2 KB, 826 × 620 | 47.1 KB, 584 × 438 |
| Dog on a bed, soft background | 1.0 MB, 4032 × 3024 | 83.1 KB, 1032 × 774 | 45.5 KB, 730 × 548 |
| Lioness close-up, blurred background | 1.2 MB, 4032 × 3024 | 91.9 KB, 1032 × 774 | 49.1 KB, 730 × 548 |
| A4 text document | 1.2 MB, 2480 × 3508 | 93.6 KB, 601 × 850 | 47.7 KB, 425 × 601 |
None of them took more than two seconds. The interesting part is the pixel sizes. The two shots with blurry backgrounds kept over 1000 pixels of width, because there was less "stuff" to store. The busy fjord and the dog in the forest had to drop to 826.
At 100 KB, honestly, all four looked fine at form size. At 50 KB they still looked okay on a phone screen, but zoom in and you'll notice the softness.
The document surprised me more. The whole page got squeezed to 601 pixels wide. Regular text? Still readable, just about. Anything smaller, like a stamp, a footnote or a signature, would've turned to mush. Keep that in mind if you're uploading certificates. There's more on that further down.
On an iPhone
Apple doesn't give you a "make this 100 KB" button. Annoying, but there are a few things worth knowing:
- Crop before anything else. Photos app, Edit, crop. If the form wants a face, cut it down to head and shoulders. If it's a document, cut away the table. Every pixel you remove is budget you can spend on the part that matters.
- Stop saving HEIC. Settings, then Camera, then Formats, and pick Most Compatible. From then on, new photos are JPGs, which is what most portals want anyway.
- Shortcuts, if you do this a lot. There are Resize Image and Convert Image actions. Resize to about 1000 pixels wide, convert to JPG, and you'll usually be close to 100 KB. Close, not exact. That's the catch.
For the browser route on iPhone: open the page in Safari, tap the upload box, choose Photo Library. The finished file goes to Downloads in the Files app, and you can attach it from there.
On Android
This one depends on who made your phone.
- Samsung: the Gallery app can resize. Open the photo, three dots, Resize image, pick a percentage. It shrinks the picture, but you can't type "100 KB" anywhere.
- Google Photos: crop, yes. Resize or compress a single photo, no.
- Documents: drop the camera's picture size to 3 or 4 megapixels before you shoot. Smaller originals are much easier to get under 100 KB with the text intact.
The browser method in Chrome works exactly like on iPhone. Your file ends up in Downloads and the upload form can find it there.

On Windows or a Mac
Windows 11 has a resize option in the Photos app (three dots, Resize image). You can set your own dimensions and a quality level, which is nice. What it won't do is show the file size before saving. So you guess, save, check, and try again. Paint can resize too, but there's no quality setting at all.
On a Mac, Preview is better than most people think. Tools, Adjust Size to bring the width down. Then File, Export, choose JPEG, and drag the quality slider. It shows the estimated size while you drag, which takes most of the guessing out.
Both work. But when a form is strict about the limit, I'd rather use something that aims for the number directly than play the save-and-check game.
Documents are where people get stuck
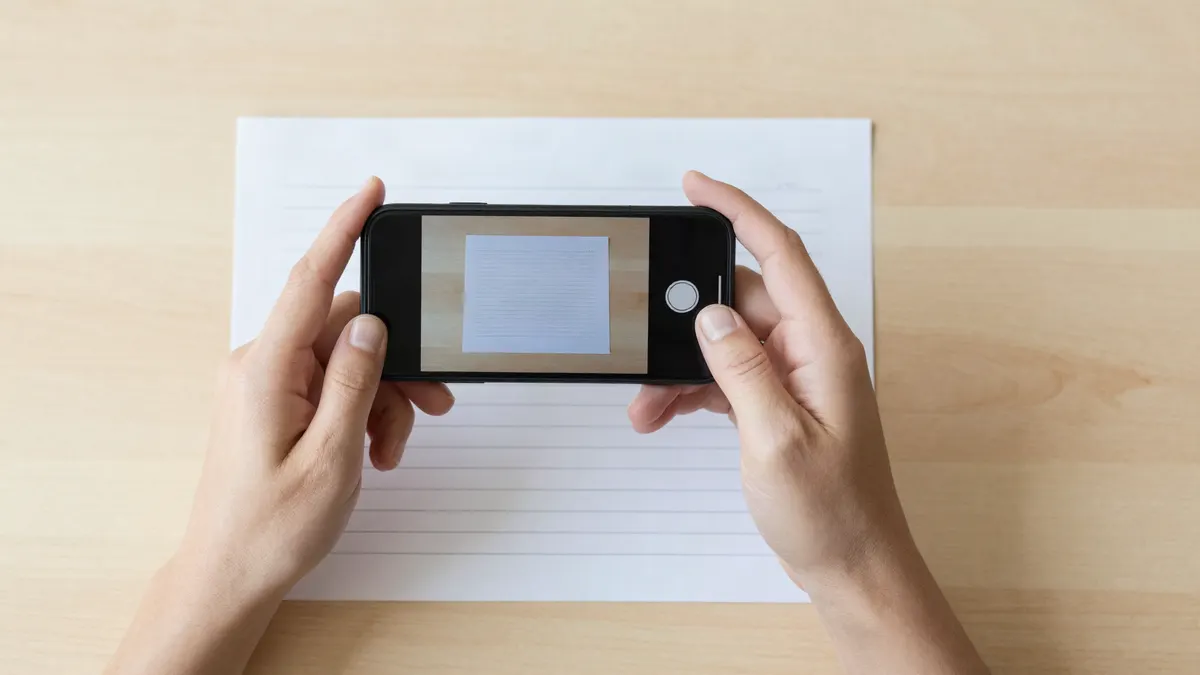
Certificates, mark sheets, ID cards. My test page shows the problem: at 100 KB a full A4 sheet keeps its main text but loses the fine print. A few habits fix most of it:
- Make the paper fill the frame. Phone straight above the page, then crop off the desk. The wood grain of your table costs bytes, same as the text does.
- Daylight, no shadows. Grey shadows and uneven light add detail nobody needs, and it all eats into the 100 KB.
- One page per file. If the portal allows separate uploads, don't cram three pages into one photo.
- The form wants a PDF? Compress the photo first, then use JPG to PDF. Already have a PDF that's too big? Compress PDF to 100 KB is the one you want.
When it still doesn't work
"The form still says too big." This one catches people. Some sites count 100 KB as 100,000 bytes, others as 102,400. So a 99 KB file can still fail. Pick Custom size and type 97. Problem gone.
"Wrong file type." Loads of portals only take JPG. Leave the output on JPG (it's the default) and don't upload the PNG or the HEIC.
"It wants exact pixels as well." Visa and exam forms love this: 600 × 600, 350 × 450, that kind of thing, plus a KB limit on top. For those, use Resize Image. You type the pixels and the maximum KB together. My 600 × 600 test came out at 92 KB.
"Now it looks blurry." That means the photo had more detail than 100 KB can carry at that size. Crop tighter. Or check the rules again; some forms actually allow 200 KB, and that's a big step up.
So which size should you pick?
Whatever the form says. Not less. If the limit is 100 KB, nobody gives you points for a 30 KB file, and you've thrown away clarity for nothing. Sending photos over email or WhatsApp instead? Then a few hundred KB is the sweet spot, and compress to 500 KB keeps things sharp. And for those painfully tight signature fields, there's compress to 20 KB.
One last thing: don't delete the original. The 100 KB copy is great for the form, but if you ever need to print that photo, the detail you threw away isn't coming back.